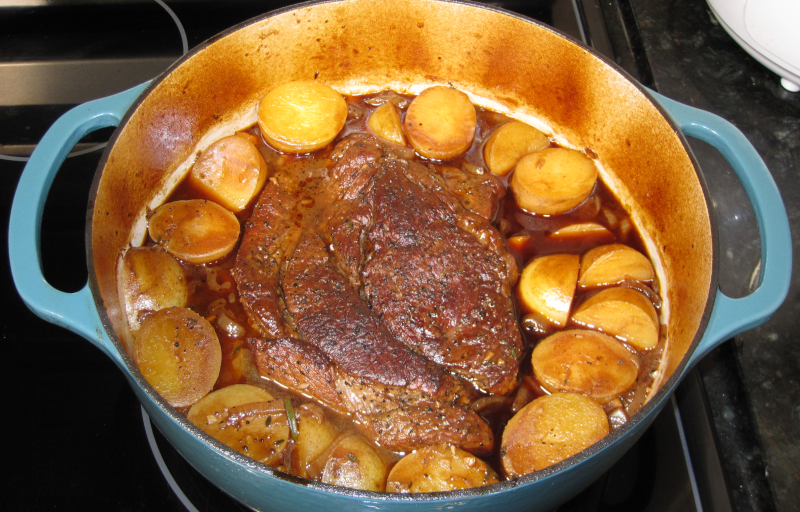
Mississippi Pot Roast
Get ready for a meal that brings comfort, ease, and incredible flavor to your dinner table—Mississippi Pot Roast made in the slow cooker or crock pot. This recipe has become a Southern classic for good reason: it transforms a humble chuck roast into a rich, tender, and savory masterpiece, slow-cooked to perfection. With just a handful of simple ingredients like ranch seasoning, brown gravy mix, and the zing of pepperoncini peppers, it’s no wonder why this dish has become a household favorite for busy families and potluck gatherings alike.
What makes Mississippi Pot Roast stand out is the unique combination of flavors. The ranch seasoning adds a creamy, herbaceous touch, while the brown gravy mix brings in savory depth. The pepperoncini peppers and their juice provide a tangy, slightly spicy kick that pairs perfectly with the melt-in-your-mouth chuck roast. To tie it all together, a generous portion of unsalted butter enriches the entire dish, creating an irresistible sauce you’ll want to spoon over everything.
Perhaps the best part of this recipe is its simplicity. The crock pot slow cooker does all the work for you—just toss in your ingredients, set it, and forget it. It’s a great recipe for busy weekdays, or whenever you want to enjoy a hearty, flavorful meal without a lot of fuss.
Man That’s Cooking
Ingredients
- 3 pounds chuck roast
- 1 medium yellow onion
- 1 1 oz packet of ranch seasoning
- 1 0.88 oz packet of brown gravy mix
- 6 pepperoncini peppers
- 1/2 cup unsalted butter
- 1/2 cup pepperoncini pepper juice
- 1/4 teaspoon kosher salt
- 1/4 teaspoon black pepper
Directions
Peel and slice the yellow onion into rings or half-moons. Place the onion slices evenly in the bottom of your crock pot to act as a bed for the roast.
Heat 1-2 tablespoons of olive oil or beef tallow in a 10-12 inch cast iron skillet over medium heat. Meanwhile, pat the chuck roast dry with paper towels to remove excess moisture, then generously season both sides with kosher salt and black pepper.
Once the skillet is hot, add the chuck roast. Sear each side of the roast for about 3-5 minutes or until each side is browned and forms a crust. This helps to lock in flavor and adds richness to the final dish.
Carefully place the seared chuck roast on top of the onions in the crock pot. The onions will provide moisture and flavor as the roast slow cooks.
Evenly sprinkle the ranch seasoning packet over the top of the roast, followed by the brown gravy mix. Make sure the entire top is covered for maximum flavor.
Pour ½ cup of the pepperoncini pepper juice directly over the seasoned roast. Then, place the 6 whole pepperoncini peppers around the edges of the roast, nestling them alongside the meat. This will add a subtle tang and mild heat to the dish.
Place the stick of butter (½ cup) directly on top of the roast. The butter will melt and create a rich, flavorful sauce as the roast cooks.
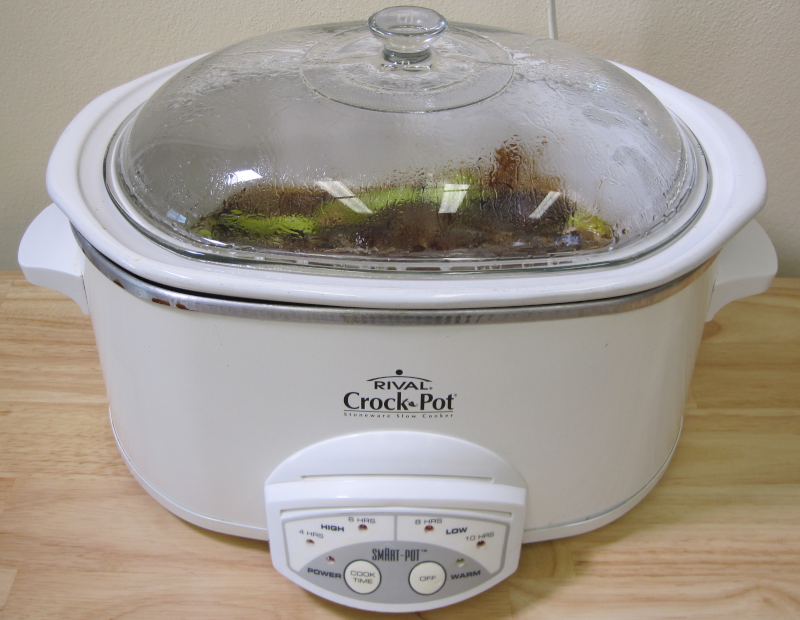
Cover the crock pot with the lid. Set it to cook on low heat for 8 hours. As it cooks, the roast will become tender and flavorful, and the onions and pepperoncini juice will provide enough moisture without needing additional liquids.
After 8 hours, the roast should be incredibly tender and easily pulled apart with a fork. Serve it alongside mashed potatoes, rice, or crusty bread, and spoon some of the rich sauce over everything.
 Print This Recipe
Watch How To Make This Recipe