Dutch Oven Guinness Corned Beef
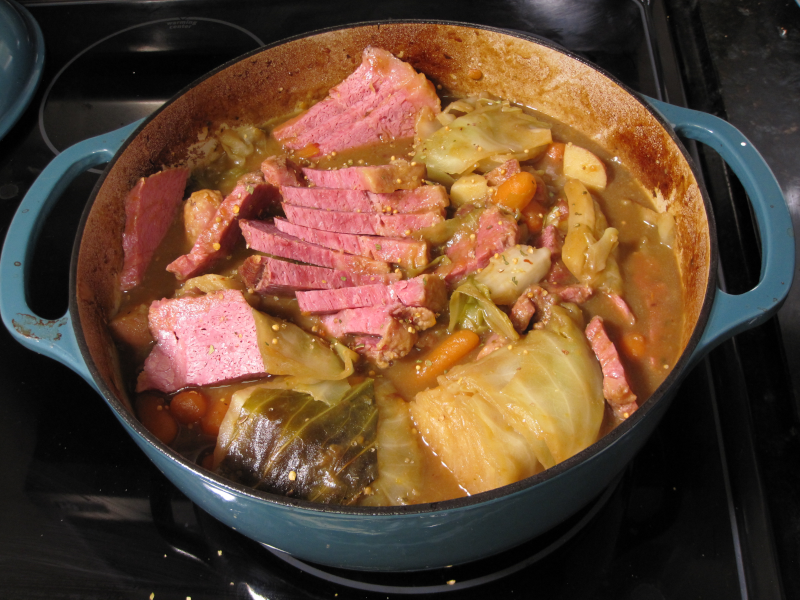
This Dutch oven corned beef is cooked with low, steady heat that allows the brisket to become tender without drying out, and vegetables added at the proper time so they stay intact and flavorful. Guinness stout and beef broth create a rich braising liquid, while onions elevate the brisket and prevent scorching. The result is fork-tender corned beef with perfectly cooked potatoes, carrots, and cabbage finished with a delicious gravy.
Man That’s Cooking
Ingredients
- 3 – 4 lb corned beef brisket (with seasoning packet)
- 1 tablespoon oil (for searing)
- 2 (14.5 oz) cans beef broth
- 1/2 bottle Guinness stout
- 1 tablespoon Worcestershire sauce
- 1 teaspoon Dijon mustard (optional)
- 1 large yellow onion, cut into wedges
- 1 1/2 – 2 lbs red potatoes, halved
- 12 oz baby carrots
- 1/2 head cabbage, cut into wedges
- 1 – 2 tablespoons cornstarch + cold water (for slurry)

Directions
Preheat oven to 325°F.
Remove the corned beef from packaging, rinse thoroughly, and pat completely dry with paper towels.
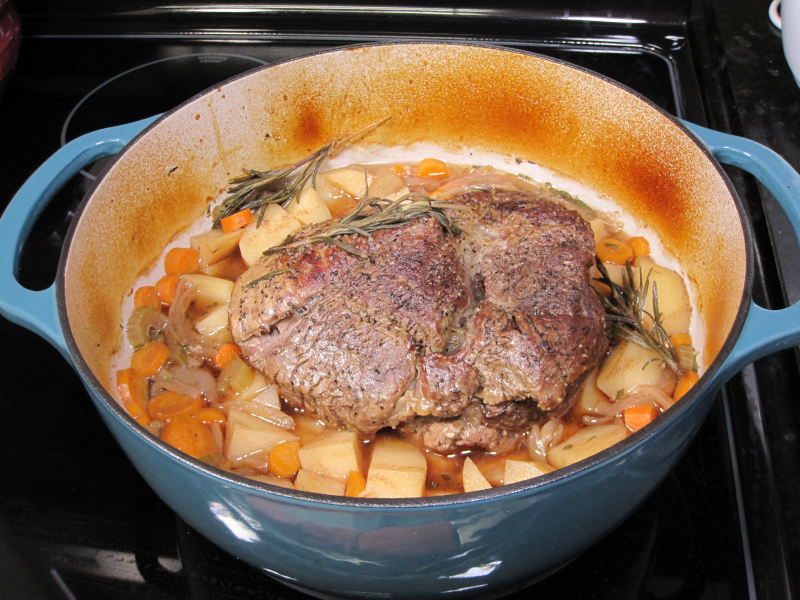
Heat 1 tablespoon oil/tallow in a Dutch oven over medium-high heat. (Note: Open a window as this produces smoke). Sear the brisket for 3–5 minutes per side until a deep brown crust forms. Remove and set aside. While waiting, keep your cut potatoes submerged in a bowl of water to prevent browning.
Turn the burner off and carefully add about half of the first can broth to the Dutch oven to deglaze the pan. Using a wooden spoon, scrape up all the browned bits (fond) from the bottom — this is concentrated flavor. Stir in the Worcestershire sauce and Dijon mustard, allowing everything to simmer briefly and combine before proceeding.
Break down the contents of the seasoning packet into smaller bits; you will use half now and save the rest for the end.
Arrange onion wedges on the bottom of the Dutch oven. Place the brisket fat-side up on top of the onions.
Sprinkle half of the seasoning packet over the brisket. Add the remaining half of the first can, the entire second can of beef broth, and half a bottle of Guinness. The liquid should come 1/4 to 1/2 way up the sides of the meat — not fully submerge it.
Cover with lid and bake at 325°F for 2 hours. Remove from oven and add the carrots and potatoes. Immediately reduce the oven temperature to 300°F. Cover and bake for 1 hour.
Remove the brisket, tent loosely with foil, and cover with a towel to rest.
Increase oven temperature to 350°F.
Add cabbage wedges on top. Return to oven uncovered at 350°F for 40 minutes to give the vegetables color. Then, cover with the lid and bake for a final 15 minutes until the cabbage is tender (use a cake tester or skewer to check).
Place Dutch oven on stovetop over medium heat.
Stir together 1 tablespoons cornstarch with cold water to form a slurry. Add to the braising liquid and simmer until thickened.
For a smoother sauce, use an immersion blender to partially blend the onions and liquid before adding the slurry.
Slice the brisket against the grain. Serve over vegetables and spoon thickened Guinness sauce over the top.
Watch How To Make This Recipe