Dutch Oven Sirloin Tip Roast
If you’re looking for a hearty, comforting meal that delivers deep, savory flavor, this Dutch Oven Braised Sirloin Tip Roast is an excellent choice. It’s a slightly leaner alternative to the classic chuck roast while still offering a rich, beefy taste complemented by aromatic vegetables and a silky gravy. With carrots, celery, potatoes, fresh rosemary, and a splash of Worcestershire sauce, this dish is the perfect combination of rustic charm and home-cooked satisfaction.
The braising method in a Dutch oven creates a tender roast with just enough structure to slice cleanly while soaking up all the rich cooking juices. While sirloin tip is naturally leaner than chuck, this cut still becomes wonderfully tender after a slow cook at 300°F. The vegetables cook beautifully with the broth, infusing it with sweetness and earthiness, while the rosemary adds a fragrant note that ties it all together.
This recipe shines for weeknight family dinners or weekend gatherings where you want something warm, filling, and sure to please a crowd. Plus, with the option to make a light, velvety gravy from the braising liquid, every slice of beef and every forkful of vegetables is coated in pure comfort. Serve it straight from the Dutch oven for a rustic presentation, and you’ll have a meal that feels classic yet polished.
Man That’s Cooking
Ingredients
- 3 pounds sirloin tip roast
- 4 carrots, peeled and chopped into chunks
- 3 celery stalks, sliced into strips
- 1 white onion, sliced into strips
- 3 garlic cloves, minced
- 2 russet potatoes, halved or quartered
- 3 sprigs fresh rosemary (mince 1 sprig for vegetables)
- 2 cups beef broth (or 1 can, ~14.5 oz, for a lighter gravy)
- 1 tablespoon Worcestershire sauce
- 1 teaspoon kosher salt
- 1 teaspoon black pepper
- 2 tablespoons olive oil
- 1 tablespoon cornstarch (plus extra if needed)
- ½ cup red wine (optional, to enhance depth of flavor during deglazing)
Directions
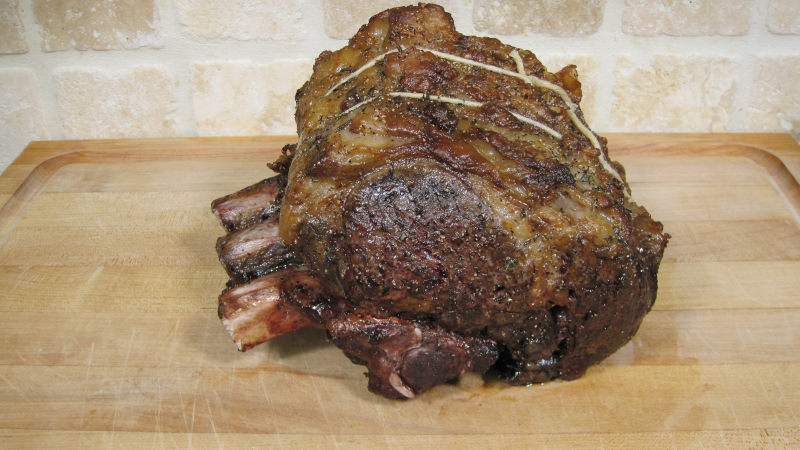
Preheat oven to 300°F. Pat the sirloin tip roast dry with paper towels. Season generously with salt and pepper on all sides.
Heat a 6-quart (or larger) Dutch oven over medium-high heat. Add olive oil, then sear the roast for about 4–5 minutes per side until a deep brown crust forms. Transfer the roast to a plate and set aside.
Reduce heat to medium. Add sliced onion, carrots, and celery. Sauté for 8–10 minutes until onions are translucent and lightly browned. Stir in the minced garlic and minced rosemary. Cook for 1 minute, stirring to prevent burning.
Pour in ½ cup red wine (optional) or a small portion of the beef broth. Scrape the bottom of the pot with a wooden spoon to release any browned bits. Add Worcestershire sauce and rosemary sprigs. Bring to a gentle simmer.
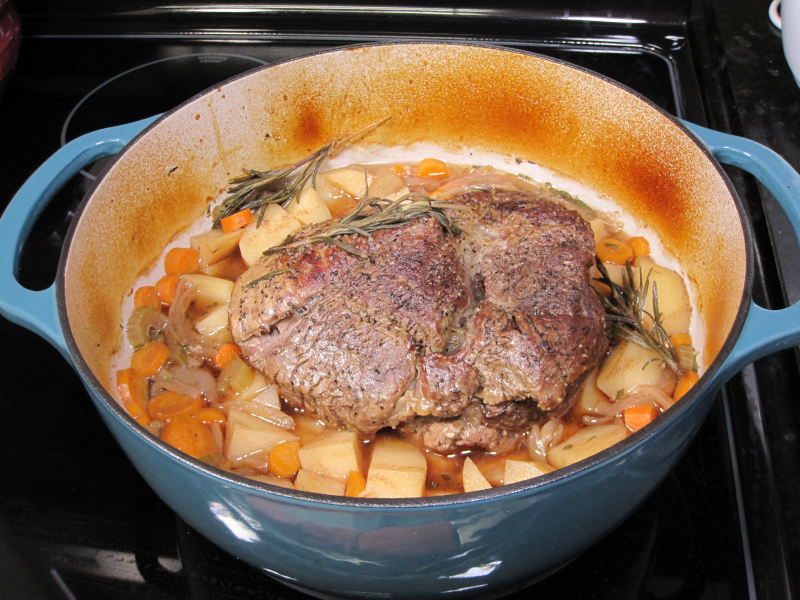
Add the potatoes, then return the seared roast (and any juices) to the Dutch oven. Add the remaining beef broth. Cover with the lid and transfer to the oven. Braise for 3 hours at 300°F without opening the lid.
Remove the roast and vegetables. Tent the beef with foil to rest for 15 minutes. Bring the Dutch oven with braising liquid to medium heat on the stovetop. Mix 1 tbsp cornstarch with 1½ tbsp cold water and whisk into the liquid. Simmer for 5–10 minutes, stirring occasionally, until it lightly coats the back of a spoon. For a thicker gravy, repeat with an extra ½ tbsp cornstarch slurry.
Slice the roast against the grain or break into chunks for a pot roast-style presentation. Return the beef and vegetables to the Dutch oven, coating them in the gravy. Serve hot, directly from the pot or transfer to a serving platter.
For firmer vegetables, braise the roast for 2 hours before adding carrots and potatoes. After 2 hours, nestle the vegetables around the roast, cover, and continue braising for 1 to 1.5 hours until tender. This results in a slightly firmer vegetable texture while maintaining a fully tender roast.
 Print This Recipe
Watch How To Make This Recipe