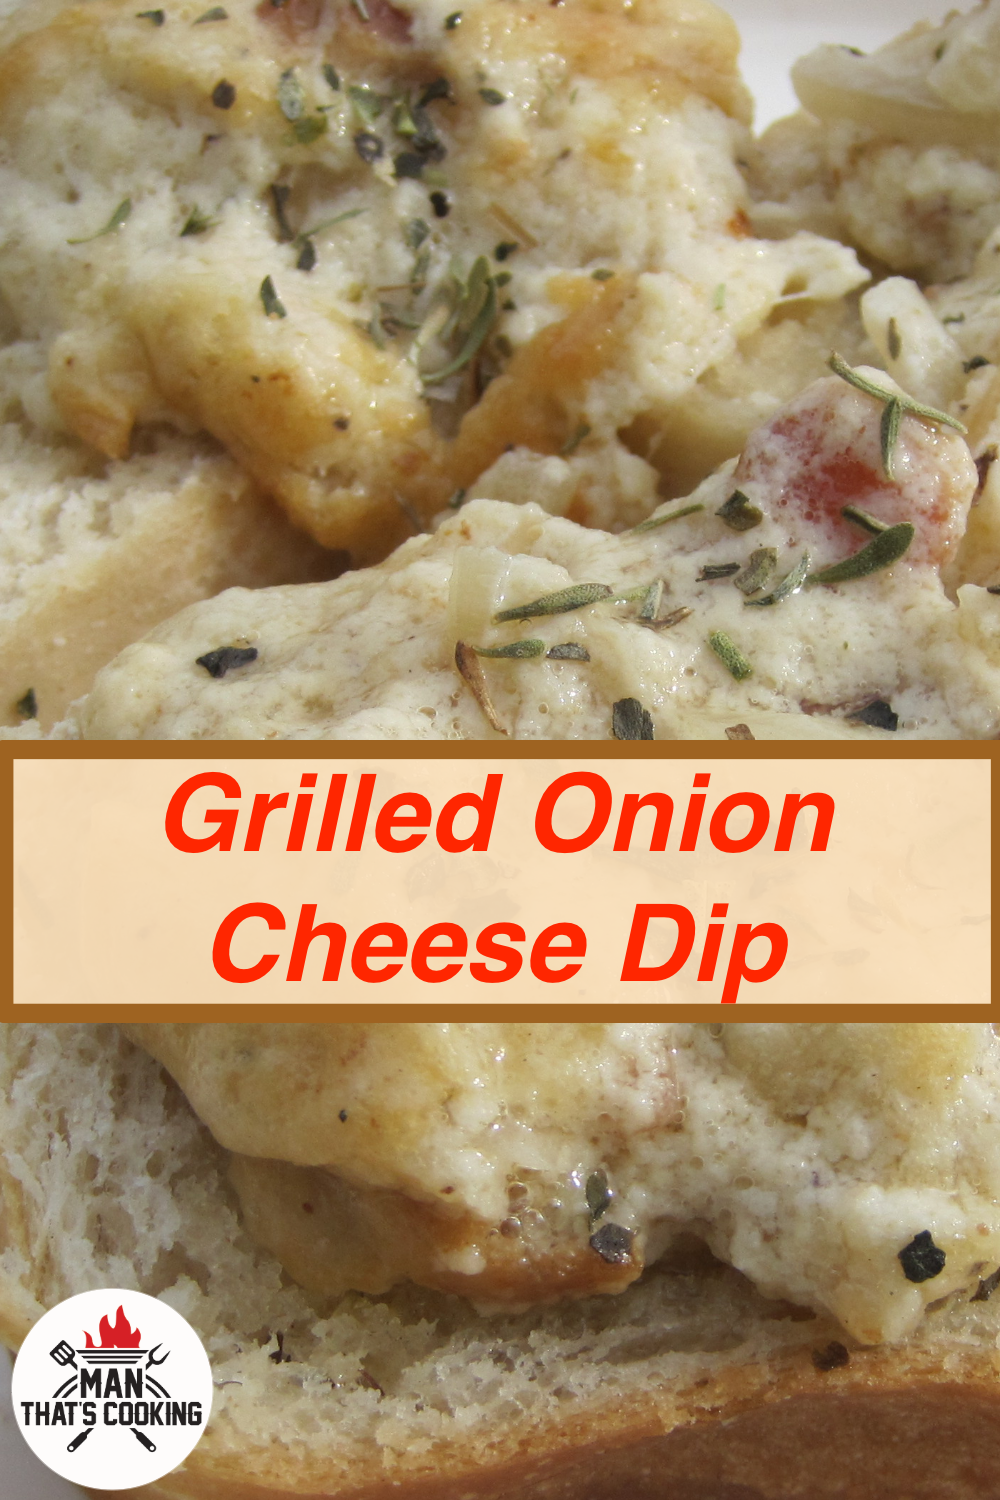
Grilled Onion Cheese Dip

Cheese, onions, and bacon… yes! bacon! Everyone needs a few go to cheese dip recipes and this is one of them. This has a very rich addicting cheese flavor that you won’t want to stop eating. And you can cook this dip on the grill if your oven is full with a holiday ham or turkey. You can also just cook this dip in the oven but that’s not as fun as standing outside by the grill with a beer.
Man That’s Cooking
Ingredients
- 8 oz shredded gruyere cheese
- 8 oz shredded gouda cheese
- 1 8oz package of cream cheese
- 1 1/2 cups sour cream
- 1/2 pound of bacon
- 2 large vidalia onions
- 1 tablespoon Worcestershire sauce
- 1 teaspoon garlic salt
- 1/4 teaspoon black pepper
- 1/4 teaspoon cayenne pepper
- 1/4 teaspoon dried thyme
- 1 French baguette
- 1 stick of butter
- 1 tablespoon herbes des provence
Directions
First, slice 1/2 pound of bacon into bits, then cook the bacon on medium heat for 10 minutes or until done. Remove the bacon from the skillet and place it on paper towels to absorb the grease. Keep the grease in the pan.
While the bacon is cooking, thinly slice 2 vidalia onions. After removing the bacon, add the onions to the pan and cook it in the hot bacon grease for 10 minutes or until browned. Remove the onions and place them on paper towels to absorb the grease.
While cooking the onions, hand shred the gruyere and gouda cheese. Add softened cream cheese and sour cream to a mixing bowl. Add Worcestershire sauce, garlic salt, black pepper, cayenne pepper, and dried thyme. Mix thoroughly with an electric mixer or a large spoon. While mixing, add the shredded cheese, bacon, and the onions. Transfer the mixture to a 13 inch cast iron skillet. If you want to prepare this dip a day before cooking, you can cover the mixing bowl with plastic wrap and store overnight in the refrigerator.
Preheat your grill (or oven) to low (350F) and when it reaches temp, add the skillet directly over the fire. Cook for 20 – 30 minutes, or until brown on the surface.
Slice the French baguette in 1/2 inch thick slices. Place the slices on cooling racks to make things easier for moving the bread in and out of the grill. Melt the butter and brush it on both sides of the bread. Season both sides of the bread with herbes des provence. Place the cooling racks with bread in the grill and cook for 10 minutes.
Remove the cheese dip and bread from the grill, then allow the dip to cool for 10 minutes before serving.
 Print This Recipe
Watch How To Make This Recipe