


Grilled Turkey Burgers
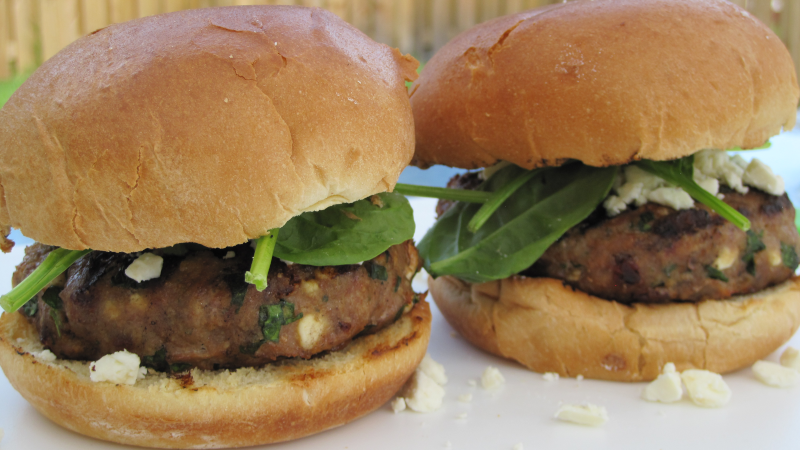
Turkey burgers can be delicious as well as healthy and this recipe will have you forgetting all about those beef burgers. This recipe includes healthy stuff like baby spinach, sun dried tomatoes and lean ground turkey. Add to that some feta cheese for extra bits of flavor and now you have a tasty turkey burger combination. These burgers are perfect on the grill but they are also yummy cooked in the air fryer. This recipe will yield 3 7oz burger patties and you can simply double the ingredients to make more.
Man That’s Cooking
Ingredients
- 1 pound ground turkey
- ¼ cup parmesan bread crumbs
- 1 cup baby spinach finely chopped
- ¼ cup diced sun dried tomatoes
- ½ cup feta cheese in small bits
- 2 minced small garlic cloves
- ¼ tsp mustard powder
- ¼ tsp sage powder
- ½ tsp fresh rosemary
- ½ tsp onion powder
- ½ tsp smoked paprika
Directions
First, mince about 1/2 teaspoon of fresh rosemary. Next, mince 2 garlic cloves. Dice about 1/4 cup of sun dried tomatoes. Break down the 1/2 cup feta cheese into smaller chunks. Finally chop 1 cup of baby spinach.
Combine all the ingredients in a large bowl and mix everything together by hand until all the ingredients are incorporated. Form 3 large turkey burger patties from the mixture in the bowl. For best results, use a scale to measure the meat and create 3 even weight patties. Use a burger press to form the burger patties in an even shape.
Pre-heat your grill and spray down the grill grates with oil or fat to prevent sticking. Cook the turkey burger patties for 5 minutes per side, then continue to cook and flip until the internal temperature reaches close to 165F. You can remove them early, around 163F to allow for carry over cooking to reach the safe temp. Place the turkey burgers on a bun with honey mustard, mayonnaise, or any condiments of your choice. Top with more feta cheese and baby spinach.
 Print This Recipe
Watch How To Make This Recipe
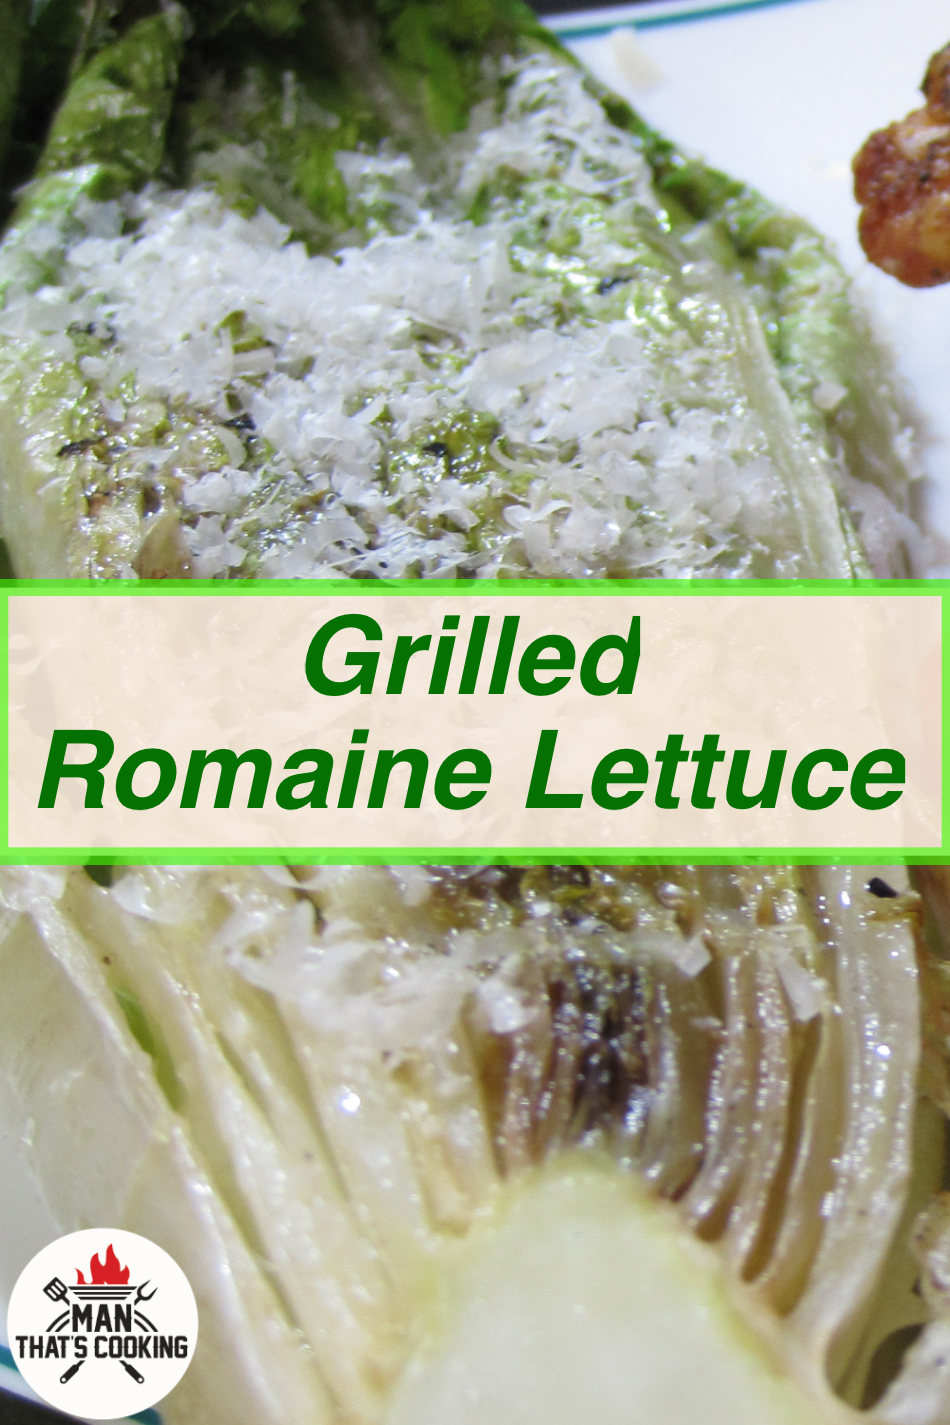
Grilled Romaine Lettuce
Grilled Romaine Lettuce

Grilled romaine has an excellent flavor and it compliments many dishes. Not only is it easy to make but it’s also quick to cook. You can put these on the grill while you cook some chicken or fish and have yourself an excellent meal combo. If you have leftovers, you can eat them cold the next day. And one thing you must do is add the grated cheese on top. That just takes it to another level!
Man That’s Cooking
Ingredients
- 3 romaine hearts
- 1 lemon
- 3 tbs olive oil
- 2 tsp kosher salt
- 1 tsp black pepper
- 2 oz romano cheese
Directions
First, preheat the grill at a medium heat and clean the grill grates when hot.
Next, slice each heart of romaine in half lengthwise. Brush both sides with olive oil. Salt the inside with kosher salt.
Place each romaine half open side down onto the grill and cook for 5 minutes with the lid open. After 5 minutes, flip over all romaine hearts and cook for another 5 minutes. Use tongs to check for softness and remove the romaine hearts when they become less stiff.
Squeeze some lemon on the inside area of the romaine hearts. Sprinkle with kosher salt and cracked black pepper. Finally, top with fresh grated Romano cheese.
Print This Recipe
Watch How To Make This Recipe
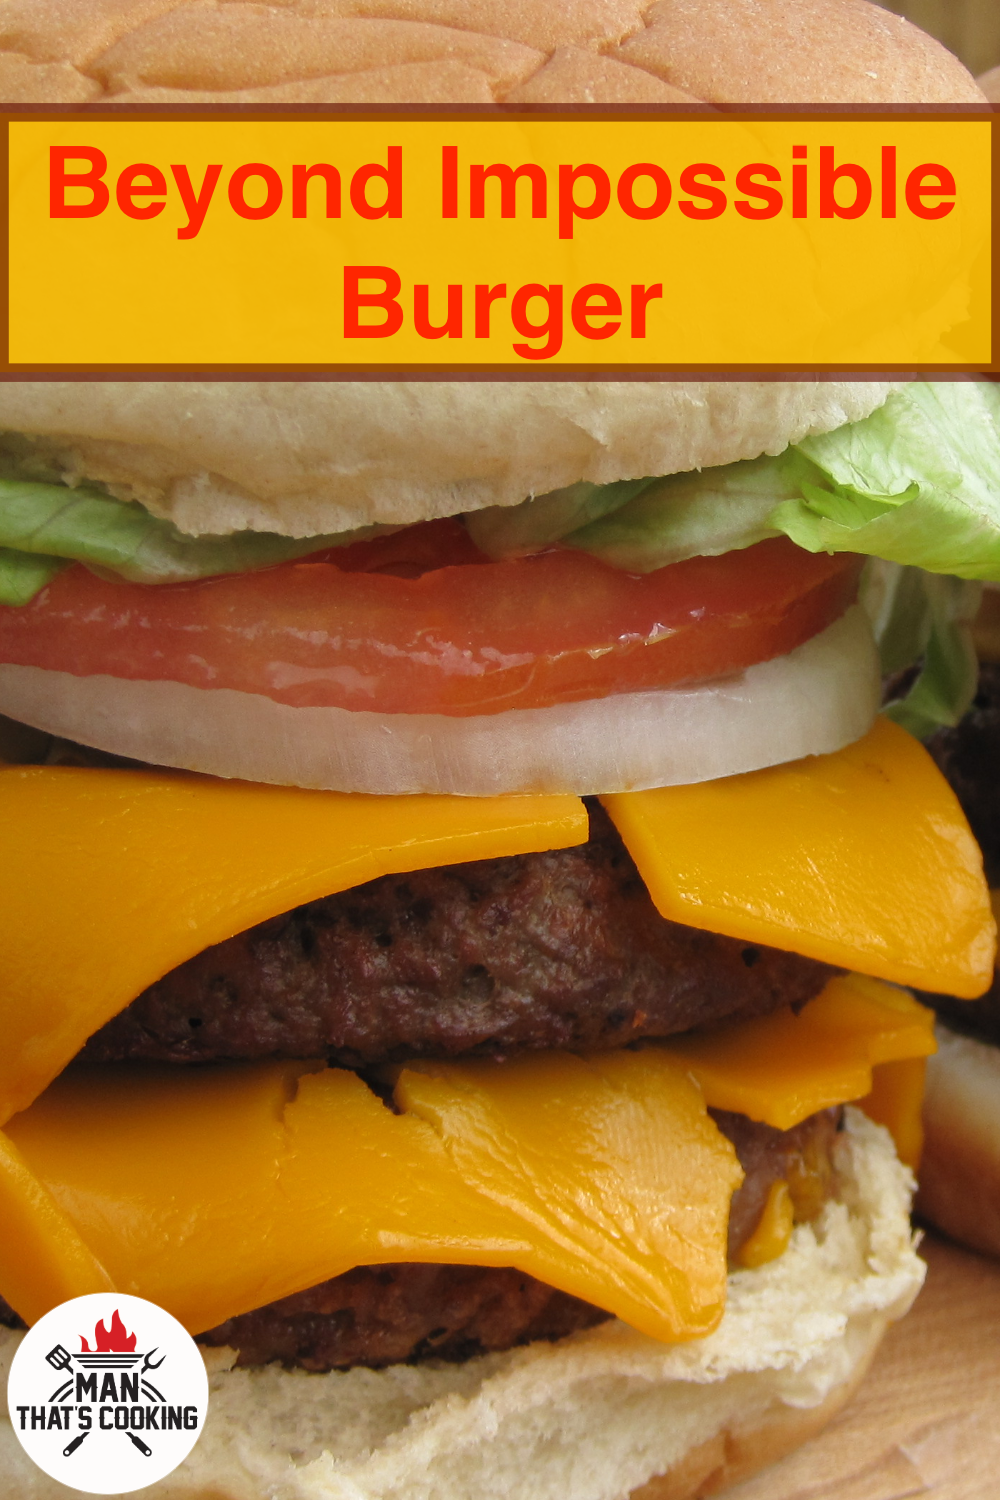
Beyond Impossible Burger
Beyond Impossible Burger
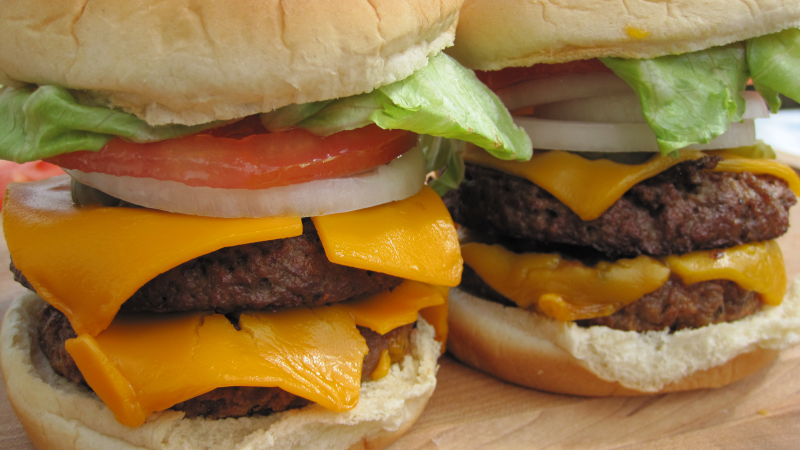
The burger world is changing with new products on the market. This doesn’t mean the end of beef burgers as some vegans would hope for, but it does add new options that were previously unavailable. You can choose to ignore the rise of plant based burgers or you can embrace them full on with this recipe. Here we answer the question of what happens when you combine a plant based beyond meat burger with the Impossible plant based burger. And hey why stop there? Let’s keep the animal free theme going by using plant based cheeses and of course plant based buns. You should watch this video and take a look at this amazing double stack burger made entirely of plants. If this doesn’t convince you that plant based burgers are a legit thing, then tell us why in the comment section.
Man That’s Cooking
Ingredients
- 2 Beyond Meat Burgers
- 2 Impossible Burgers
- 2 Slices Parmela Sharp Cheddar
- 2 Slices Daiya Cheddar
- 8 Dill Chip Slices
- 1 White Onion
- 1 Beefsteak Tomato
- 1 Iceberg Lettuce
- 2 Burger buns
- Ketchup
- Mustard
Directions
First, grill the beyond meat and impossible burgers as you would cook a beef burger. Use a low to medium heat and cook about 5 minutes per side. When they reach 165 F place them on the top grill rack.
Add cheese on top of the burger patties then close the lid and continue to cook for about 2 minutes. When the cheese melts, stack 2 patties on a burger bun.
Add pickles, sliced onion, sliced tomato, lettuce ketchup and mustard.
Print This Recipe
Watch How To Make This Recipe
Holiday Turkey Ballz
Holiday Turkey Ballz
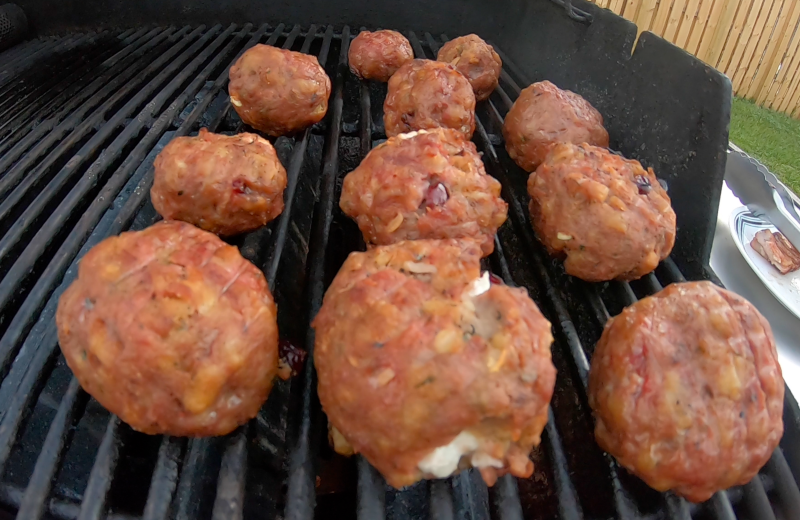
Holidays always need appetizers and this turkey ball recipe does not disappoint! These turkey balls have all the flavors of the holidays except for mashed potatoes and pumpkin pie. You can prepare these ahead of time and cook them later because it’s that easy. For this recipe we used a pellet smoker to add a smokey flavor dimension. If you don’t have a smoker you could easily cook these indirectly on the grill or bake them in the oven.
Man That’s Cooking
Ingredients
- 1 pound ground turkey
- 6 oz stove top stuffing (turkey flavor)
- 1 1/2 cups chicken broth
- 4 oz chevre (goat cheese)
- 1/4 cup dried cranberries
- 1/4 teaspoon white pepper
- 1/4 teaspoon black pepper
- 1/4 teaspoon dried sage
- 1/4 teaspoon dried thyme
- 1/4 teaspoon onion powder
Directions
First, cook the stuffing according to the directions on the box and substitute water with chicken broth. Usually this will require you to boil 1 1/2 cups of broth then add the stuffing mix. Stir around the mixture then cover and remove it from the heat. Let it sit at least 5 to 10 minutes to cool down to room temperature prior to mixing it with the turkey meat.
Mix together the ground turkey and the stuffing. Add the seasonings and continue to mix everything together. You may notice that salt was not on the list of seasonings. You can add salt if you like, but keep in mind the stuffing mix and broth are already salty.
Place some meat and stuffing mixture into the palm of your hand. Flatten it down into a thin round patty until it covers the palm of your hand. Scoop about 1 / 2 teaspoon of cheese and place it in the center of the patty. Add several dried cranberries, then fold the patty closed around the cheese and cranberries. Roll the meat around in your hands forming a round ball. Place the turkey ball on a greased cooling rack.
Smoke the turkey balls with apple or pecan wood at 200 F for roughly 1 hour or until they reach 160F. Transfer them to a grill and cook them over a medium flame until they reach 165F. If you don’t have a smoker you can bake them in the oven at 350 F for around 25 to 35 minutes or until they reach 165 F.
Print This Recipe
Watch How To Make This Recipe
