Slow Cooker Guinness Corned Beef

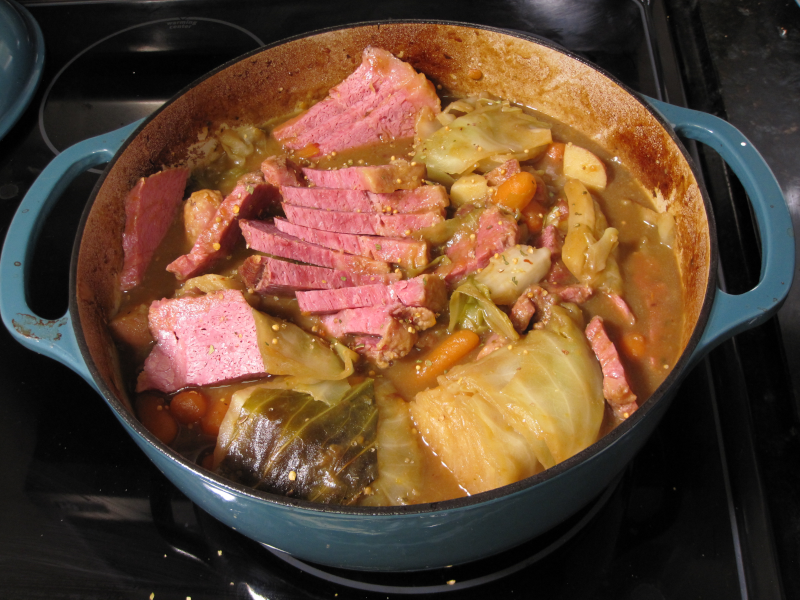
This slow cooker corned beef is built for steady, controlled cooking that produces tender brisket and properly timed vegetables. The beef is seared first for deeper flavor, then cooked low and slow in beef broth and Guinness stout. Potatoes and carrots cook alongside the meat, while cabbage is added later to prevent overcooking. The braising liquid is finished on the stovetop for a rich, thickened gravy.
Man That’s Cooking
Ingredients
- 3 – 4 lb corned beef brisket (with seasoning packet)
- 1 tablespoon oil (for searing)
- 1 (14.5 oz) can beef broth
- 1/2 bottle Guinness stout
- 1 tablespoon Worcestershire sauce
- 1 large yellow onion, sliced
- 1 1/2 – 2 lbs red potatoes, halved
- 12 oz baby carrots
- 1/2 head cabbage, cut into wedges
- 1 tablespoon cornstarch + 1 tablespoon cold water (for slurry)

Directions
Remove corned beef from packaging, rinse under cold water, and pat completely dry with paper towels.
(Optional moisture control method) Place the brisket fat-side up on a wire rack over a baking sheet and refrigerate uncovered for 90 minutes to air-dry before searing.
Heat a cast iron skillet over medium-high heat for 3–5 minutes. Add 1 tablespoon oil. Sear the brisket fat-side down first for 2–3 minutes per side until a deep brown crust forms. Set the beef aside.
Turn off the burner and add sliced onion to the skillet. Pour in 1/2 cup of beef broth and scrape up browned bits from the pan. Transfer onions and liquid to the slow cooker.
Add corned beef, than place potatoes and carrots around the brisket.
Pour remaining beef broth, Guinness stout, Worcestershire sauce, and seasoning packet over the brisket. Liquid should come partway up the sides of the meat without fully submerging it.
Cover and cook on LOW for 5 hours.
After 5 hours, add cabbage wedges on top. Cover and continue cooking on LOW for 3 more hours (total 8 hours).
Remove brisket and rest for 10 minutes before slicing against the grain.
Remove vegetables and transfer cooking liquid to a saucepan. Bring to a gentle simmer over medium heat.
Whisk together cornstarch and cold water to form a slurry. Stir into simmering liquid and cook until thickened. If needed, allow liquid to reach a gentle simmer to fully activate the cornstarch.
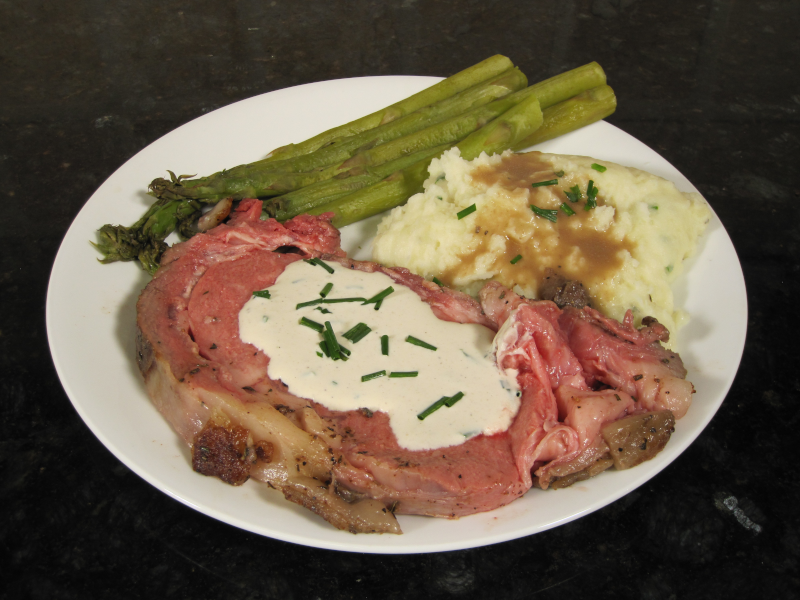
Serve sliced corned beef with vegetables and spoon thickened Guinness gravy over the top.
Watch How To Make This Recipe