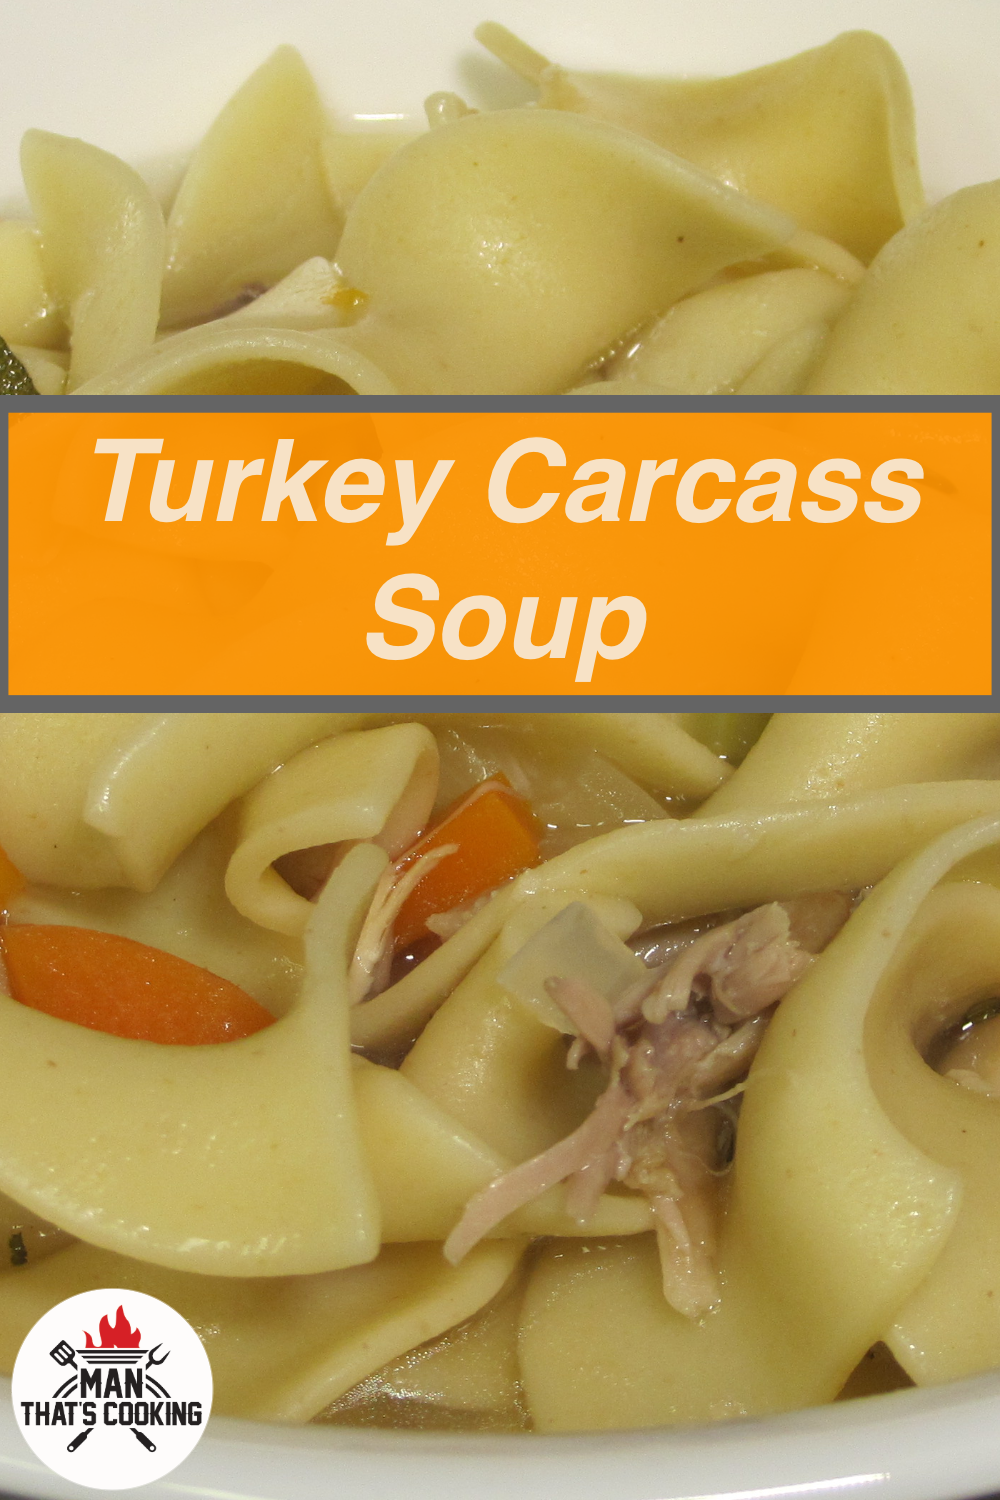
Turkey Carcass Soup
Do you have a leftover turkey carcass and maybe you are worried about raccoons pulling it from your trash can? Well for this reason and many more, you should turn that carcass into a delicious hot soup. You only need a few more dollar’s worth of ingredients to put together over a gallon of goodness. This recipe does take some time and you can split up the steps across several days. But once it comes together, you will be glad you didn’t toss that turkey carcass.
Man That’s Cooking
Ingredients
- 1 whole turkey carcass
- 6 celery stalks
- 6 carrots
- 2 white onions
- 4 cloves garlic
- 6 sprigs thyme
- 4 sprigs rosemary
- 4 sprigs sage
- 1 bay leaf
- 1/2 tsp salt
- 1/2 tsp black pepper
- 12 oz egg noodles
- 4 qt water
Directions
The first step is to make a broth. You can do this days in advance and store the broth in refrigerated or frozen jars. Or you can take a nice lazy weekend and create the broth and soup at the same time. If you choose this path we recommend that you chop all the vegetables for the broth and soup at the same time.
For the broth, rough chop 3 celery stalks, 3 carrots, 1 white onion, and 2 garlic cloves. You can add the tops of celery with the leaves to the broth. Add 2 whole sprigs of rosemary, thyme and sage.
For the soup, finely chop 3 celery stalks, 3 carrots, 1 white onion, and 2 garlic cloves. Mince 2 sprigs of rosemary, thyme and 2 sprigs of sage.
Place the broth veggies and the turkey carcass into a large pot or dutch oven. Include the turkey neck and any bones you might have saved. Next submerge everything with 4 quarts of water adding more if needed. Set the burner heat on high until the contents starts to boil (about 30 minutes). Then reduce the heat to low and simmer for 2 hours stirring occasionally. Remove the pot from the heat and allow it to cool down. Remove the turkey and large vegetables from the broth. Using a strainer with cheesecloth, pour the broth into another pot to remove small bits and some fat.
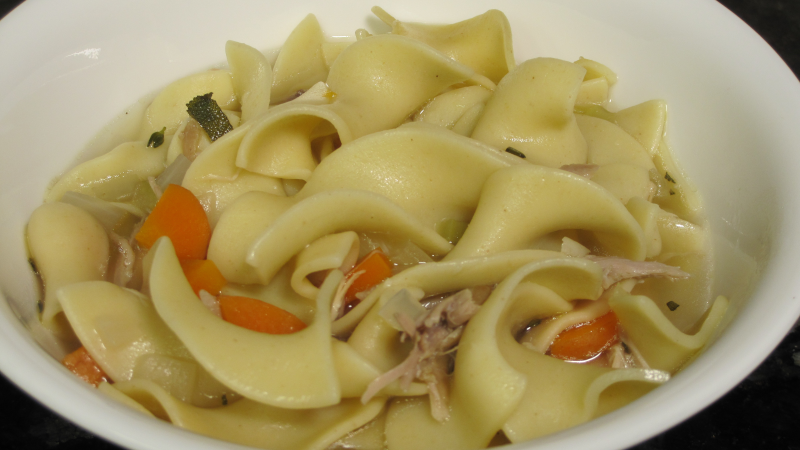
Add the broth back to the pot. Pull all the meat from the turkey carcass and put it in the pot. Add the soup veggies, seasonings, and herbs. Bring the soup to a simmer and let it cook for 30 minutes or until the carrots are tender. Skim off any foamy fat that might form on the surface. Add the egg noodles and cook for at least 8 minutes. Remove the pot from the heat and serve.
 Print This Recipe
Watch How To Make This Recipe