Butterlicious Butterball Turkey
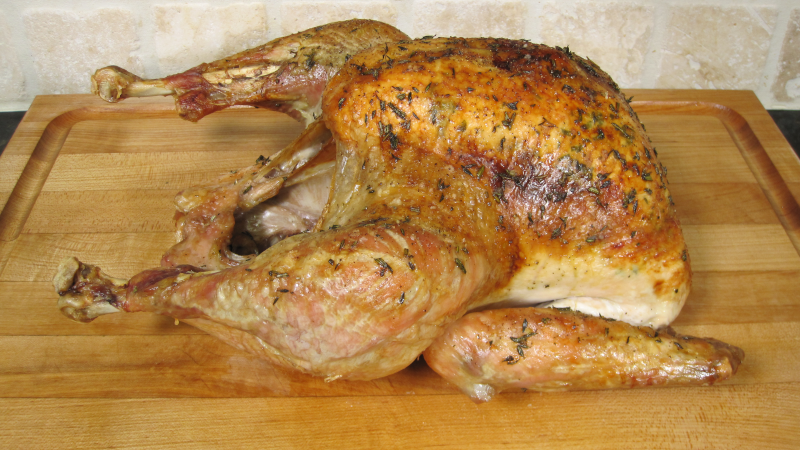
When it comes to Thanksgiving or any special gathering, nothing beats a perfectly roasted turkey. Our Butterlicious Butterball Turkey is all about simplicity and rich, buttery flavor. This recipe takes a classic Butterball turkey and elevates it with an herb-infused butter featuring fresh thyme and rosemary, carefully placed under and on top of the skin to ensure every bite is moist and flavorful. Seasoned generously with salt and pepper, the turkey roasts to a golden-brown perfection.
And it doesn’t stop there—using the neck and giblets, you’ll create a velvety gravy made from the fond in the roasting pan and a simple flour-and-butter roux. This is the turkey dinner your family will be talking about long after the plates are cleared!
Man That’s Cooking
Ingredients
- 13 lb whole turkey
- 8 sprigs thyme picked from the stem
- 2 sprigs rosemary
- 4 sprigs thyme
- 1 tsp kosher salt
- 1 tsp black pepper
Gravy Ingredients
- 4 tbsp butter
- 4 tbsp all purpose flour
Directions
Finely chop fresh thyme and rosemary. In a small bowl, mix 1 stick of softened butter with the minced herbs until well combined. Set aside.
Preheat your oven to 425°F. Pat the turkey dry with paper towels, both inside and out. Gently separate the skin from the breast meat using your thumbs and fingers. For hard-to-reach spots, use a small spatula or spoon to carefully lift the skin, being careful not to tear it.
Using a spoon, scoop small amounts of the herb butter mixture and place it under the skin of the breast. Push the butter from the breast down towards the thigh, ensuring the butter reaches the leg and thigh crevices. Use your fingers to smooth the butter across the breast and thigh areas under the skin, spreading it evenly.
Pat the turkey skin dry once again to ensure crispness. Rub the remaining herb butter mixture all over the outside of the turkey. If the butter won’t stick, melt it in the microwave for 20 seconds and brush the melted butter over the skin.
Generously season the turkey all over with salt and pepper, both inside the cavity and on the skin.
Place the prepared turkey in a roasting pan on a rack. Begin by roasting the turkey at 425°F for 20 minutes to develop a nice golden-brown color on the skin. After 20 minutes, you have two options for continuing the cooking process. For Method A, reduce the oven temperature to 350°F and continue roasting the turkey until the breast reaches an internal temperature of 165°F. For Method B, reduce the temperature to 350°F for 1 hour. After that hour, reduce the oven temperature again to 325°F for the remainder of the cook. This more gradual approach will allow for even heat distribution, finishing the turkey more gently without burning or drying it out.
If you follow Method A (425°F for 20 minutes, then 350°F until the breast reaches 165°F), the cook time will be approximately 13 to 15 minutes per pound. For a 13-pound turkey, the total cooking time would be around 3 to 3.25 hours.
If you follow Method B (425°F for 20 minutes, 350°F for 1 hour, then 325°F until the breast reaches 165°F), the cook time will be approximately 15 to 17 minutes per pound. For a 13-pound turkey, the total cooking time would be around 3.5 to 3.75 hours.
While the turkey is roasting, submerge the giblets and neck with 4 – 5 cups of water in a sauce pan. Boil the water on high then reduce the temperature to medium or medium low to simmer the water for 2 hours. Remove the neck and giblets and let them cool, then chop some of the giblet and neck meat for the gravy. Strain the remaining liquid and set aside.
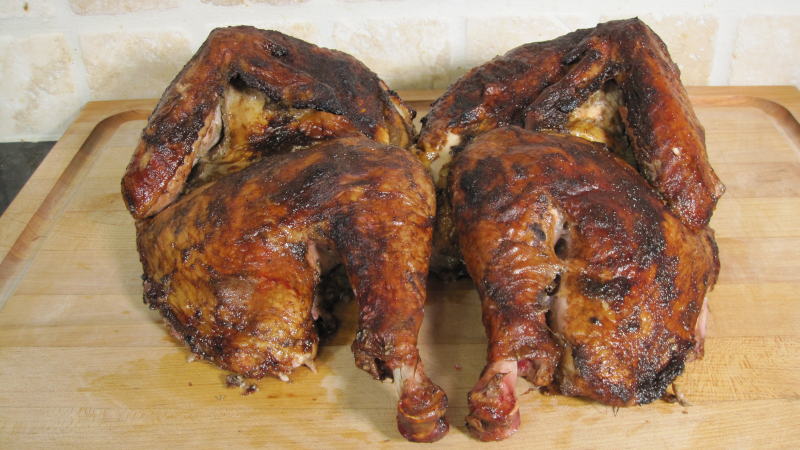
Remove the turkey from the oven when the internal temperature of the breast reaches 165°F and the thighs reach 175°F. Let it rest on a cutting board for 20-30 minutes before carving. This allows the juices to redistribute, resulting in a juicier bird.
While the turkey is resting, keep the roasting pan warm over the stovetop burners on medium. Add the liquid from the boiled neck and giblets to the roasting pan. Use a wooden spoon to scrape up any fond on the bottom of the roasting pan.
In an 8 inch skillet on medium heat add 4 tablespoons of butter. While stirring the butter, add 1 tablespoon of all purpose flour then stir to mix it together. Continue to add the 3 remaining tablespoons of flour one at a time. Stir for roughly 10 minutes until a beige roux is formed. Stir in half of the liquid from the roasting pan into the butter flour mixture and stir everything together. Add the remaining liquid then add the neck and giblet meat some fresh thyme to the gravy. Lower the burner to low to keep the gravy warm and serve with the turkey and sides.
 Print This Recipe
Watch How To Make This Recipe