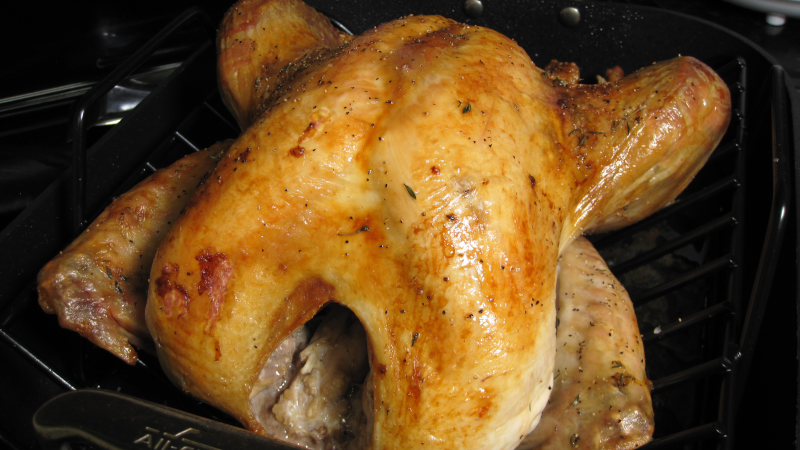
Oven Roasted Brisket
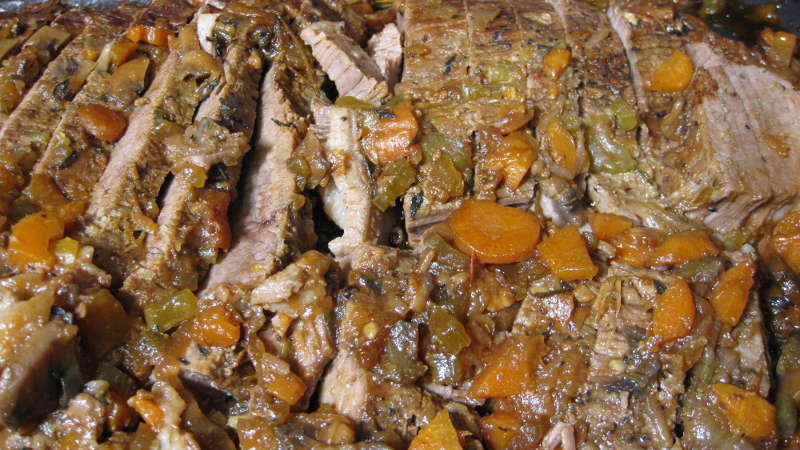
Brisket is growing in popularity thanks to the BBQ movement. But did you know that it is a traditional meal for the high holy days such as Rosh Hashanah and Passover? You can serve it for your Easter Sunday meal or you can make it on any given Sunday. In this recipe the brisket is braised in a covered roasting pan which makes it tender and juicy in about 4 hours. Carrots, celery, mushrooms and onions are combined with the brisket to give it that hearty pot roast deliciousness. Ideally you need to purchase a 5 pound prime brisket flat for this recipe. If you go smaller, just keep the quantity of the remaining ingredients the same.
Man That’s Cooking
Ingredients
- 1 4 – 5 pound brisket flat
- 2 white onions
- 3 carrots
- 3 celery stalks
- 8 oz white mushrooms
- 1/2 cup crushed tomatoes
- 4 cloves garlic
- 1/4 cup brown sugar
- 1 tablespoon apple cider vinegar
- 32 oz beef broth
- 2 tablespoons olive oil
- 6 sprigs fresh thyme
Directions
First dice the carrots and celery. Slice the onions on a fine mandolin blade. Wash and thinly slice the mushrooms. Mince the garlic cloves and set aside.
Next, trim the silverskin and excessive fat from the brisket. Then pat the brisket dry and rub it down with olive oil. Season both sides with a medium amount of salt and pepper.
Heat a large cast iron skillet on medium high heat and add a small drizzle of olive oil. Spread the oil around the skillet with a silicone spatula.
When the skillet reaches temperature, add the brisket to the pan fat side down first. Cook for 5 minutes then flip to the other side and cook for another 5 minutes.
Remove the brisket and place it in the roasting pan, fat side down. The roasting pan is the heat source and the fat will protect the meat while cooking. Preheat your oven at 325 F.
Add the diced vegetables (except garlic) to the skillet and cook for 5 minutes. Add 2 cups of beef broth, then add the tomatoes, brown sugar, cider and minced garlic. Use a wooden spoon to scrape up any crispy burnt beef fond from the pan surface.
Simmer for 4 minutes then pour everything over the brisket in the roasting pan. Add the remaining beef broth to the roasting pan. Toss in the sprigs of fresh thyme on the meat and to the side on the veggies.
Tightly seal the roasting pan with heavy duty aluminum foil. You may need to use 2 sheets for a good seal. Bake for 3 hours on the middle rack at 325 F. After 3 hours, check the brisket for tenderness by using a temperature probe or a toothpick. Push it into the meat and when it slides in with very little resistance, then it’s tender and ready. If it feels tough let it cook for another 30 minutes to 1 hour and check again. A 5 pound brisket flat will take about 4 hours at this temperature. It will register around 210 F in most areas when done.
When the brisket is tender, remove it from the oven and let it rest for at least 10 minutes before slicing. Slice it against the grain to produce the most tender cuts of meat.
 Print This Recipe
Watch How To Make This Recipe