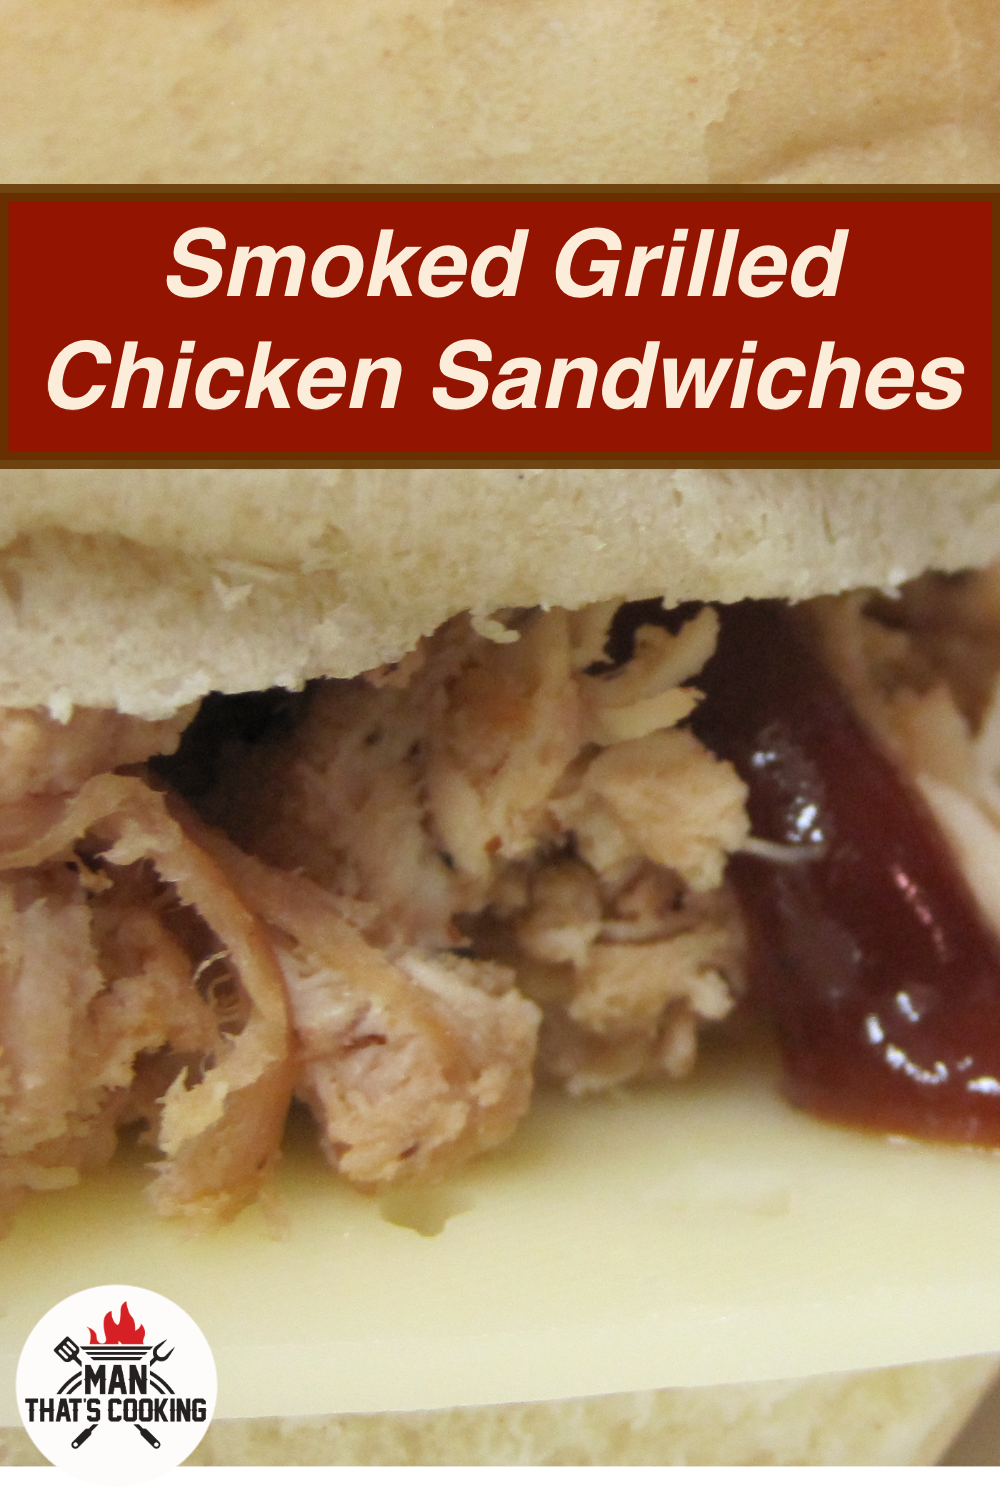
Smoked Grilled Pulled Chicken Sandwiches
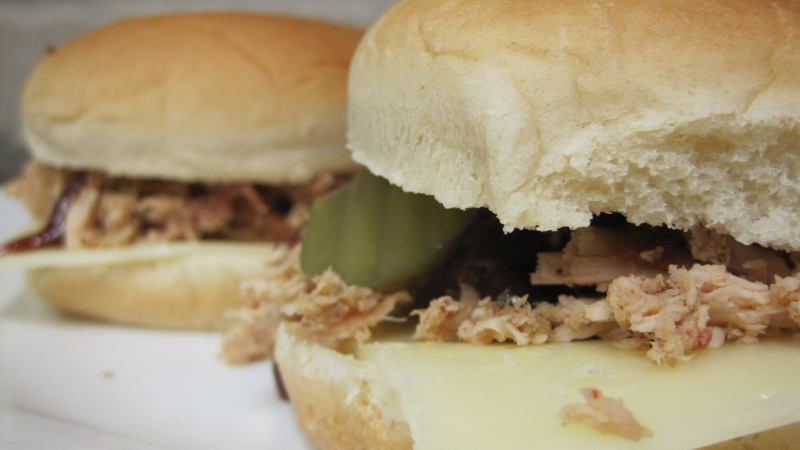
Pulled chicken sandwiches are a tasty treat that is easy to make and full of flavor. With this recipe we brine our chicken overnight to add moisture and flavor. Then we smoke it low and slow for several hours and finish it on grill for a kiss of fire. And of course you can build your sandwiches any way you like or you can follow our quick and easy sandwich recipe.
Man That’s Cooking
Ingredients
- 2 whole chicken
- 4 cups apple juice
- 2 tablespoons kosher salt
- 1 teaspoon dried sage
- 1 teaspoon dried thyme
- 1 teaspoon dried rosemary
- 4 tablespoons plowboys yardbird
- 12 burger buns
- 1 jar sliced dill pickels
- 1 package sliced baby Swiss
Directions
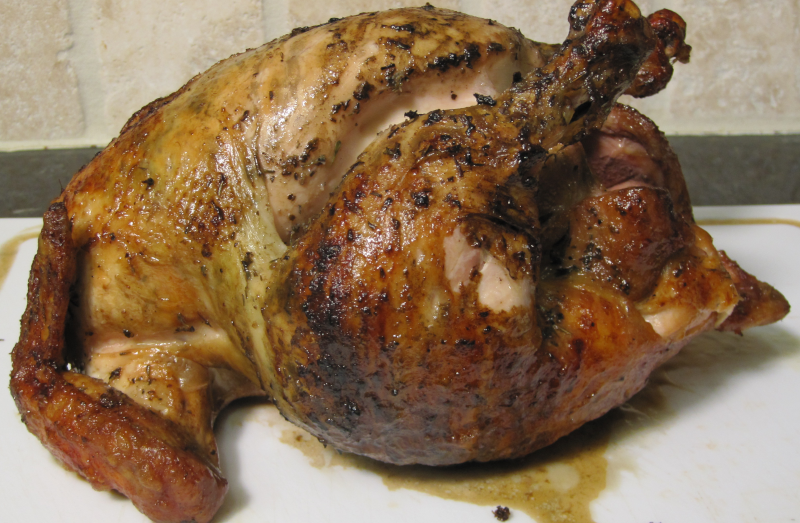
First thing to do is to cut out the backbone of the chickens and snip the breast plate so that the chicken will lay flat. This will allow for the chicken to cook evenly so that you are not drying out the breast meat while waiting on the thigh meat to reach proper temperature. Next you should brine your chickens overnight so that they stay moist during the smoking process. For this brine we will place each chicken in a gallon zip seal bag, then add 1 tablespoon kosher salt, 1/2 teaspoon dried sage, dried thyme, and dried rosemary. Finally add 2 cups of apple juice to the bags, seal em up and put them in the refrigerator for 24 hours. Every few hours you should flip the chicken bags over to allow each side to soak in the brine.
After your chicken is brined, wash off the brine and herbs then place the chickens on a cooling rack. Next you want to cut the skin down the center so that you can pull the skin back and season the exposed meat. Heavily season the breast, thigh and drum meat. Flip the chickens over and season the back side. Flip the chickens back then pull the skin back in place to cover the meat. The skin will keep the meat from drying out, and because this is pulled chicken, we really don’t need to worry about keeping the skin all pretty for slicing into. So season the skin and these chickens are ready for the smoker.
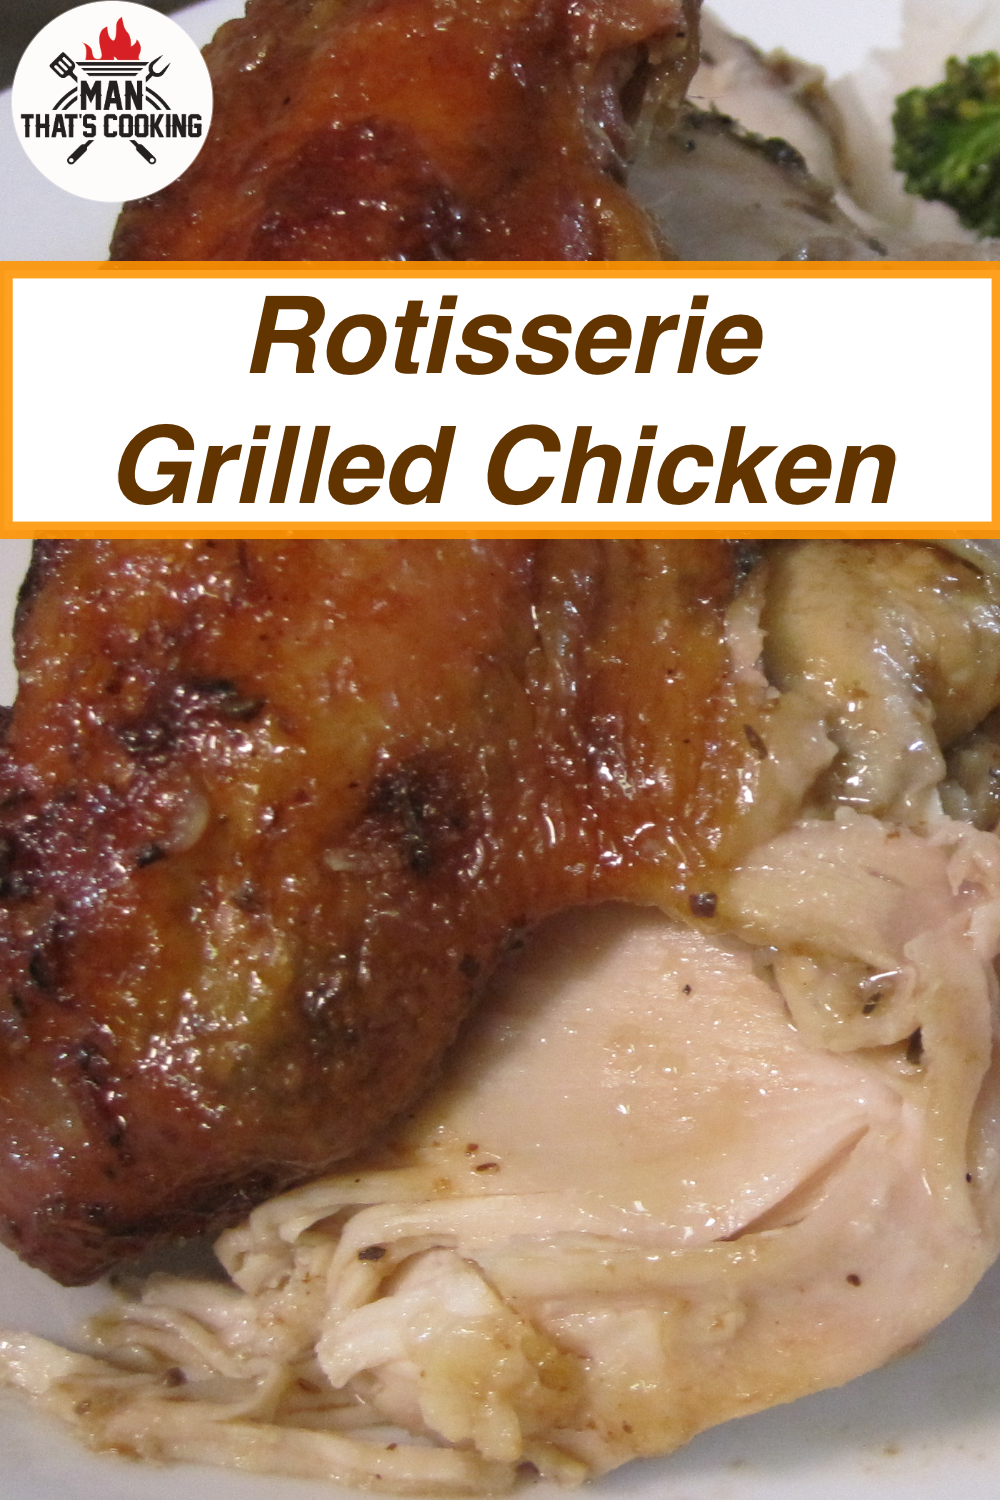
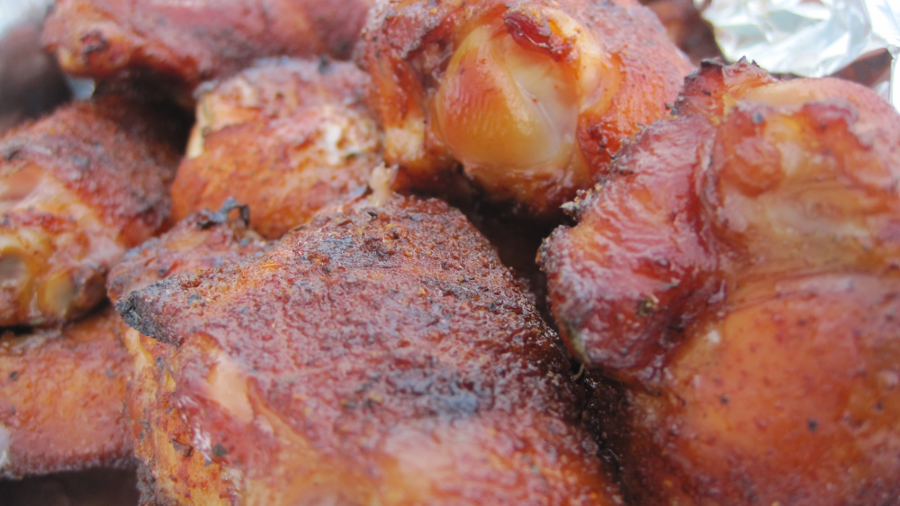
Get your smoker running between 240 and 260 Fahrenheit using pecan wood. You can also use hickory or mesquite but avoid using apple if you decided to brine with apple juice. That’s just too much of the same and you should try and layer the flavor instead. Place the chickens on the smoker and let them go for several hours until the temperature in the breast reaches 150 F. At this point get your grill fired up and transfer the chicken to the grill. Place the chicken skin side down and close the lid. Cook for at least 10 minutes keeping an eye on the grill for flare ups. Flip the chickens to back side down then cook until you reach 165 F in the breast and 175 F in the thighs. At this point remove the chickens and allow them to rest for 10 minutes.
When the chickens have rested, put on some heat gloves and start to hand shred the chicken. When it comes to heat gloves, we are talking about a liner glove with a nitrate outer glove. These offer the best movement and touch while blocking heat from your skin. Pull the chicken being very careful not to include any bones or cartilage. When you are done, make a second pass looking for bones. It is very easy to overlook bones when pulling chicken meat. And when it comes to skin, this is up to you, but it will add a nice flavor to shred up and include the skin.
Okay sandwich its time! This is a simple sandwich we are making, it’s just a burger bun with a slice of baby Swiss. Then we add the pulled chicken, some dill pickle chips and some BBQ sauce. Of course you can make whatever sandwich you like, but we hope you give this one a try and let us know what you think.
 Print This Recipe
Watch How To Make This Recipe